|
Folding Octagonal Poker Table How to build your very own folding, octagonal poker table! Padding the rail. This is one of the areas I was most concerned about. Why you may ask, well the padded rail is one of the most seen and used parts of any poker table. Get it wrong and your table will look like a homemade effort (which it is), get it right and your table goes a long way to looking like you stole it from the Bellagio high stakes room! Part of the enjoyment of poker for me is having a good feel about the game and trying to do the little things right. A good set of chips, a decent blinds timer and a good set of cards go a long way to making a poker night that bit more special. Add the doctor of all tables and you've pretty much got a recipe for an awesome night � all you need do is win! Okay, back to padding the rail! So at this stage we've got the wood for our padded rail already cut out and the T-Nuts have been drilled and added. Obviously to complete the padded rail you need to more things. You need the foam and you need to material you are going to use cover the rail with. The foam I used was the closed cell variety and the stuff I purchased was 50mm thick. As padded rails go, this is pretty thick. A lot of other sites have used thinner pieces but use what you like. With the foam you have 2 choices, you can get one large piece, lay your rail on the foam and cut out the size you need or you can simply cut the foam into strips that you require. I ended up cutting one complete half out and my second half was in 2 pieces. Having never worked with foam before, I used an electric bread knife to make the cuts and it worked like a charm. 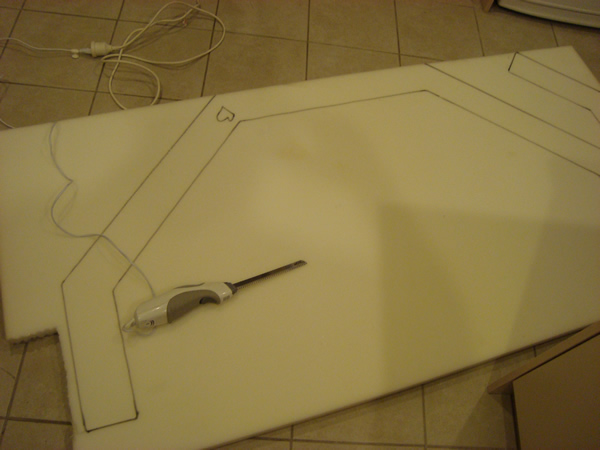
Once the foam was cut out, I glued the foam to the top of the padded rail MDF to make sure that it stayed in place especially during the stapling process. 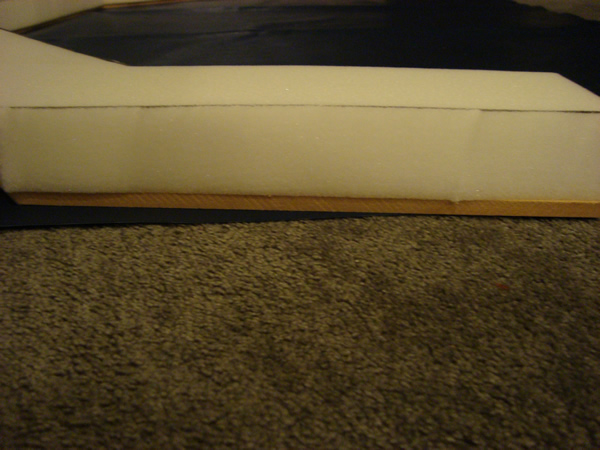
How the foam looks sitting on top of the MDF padded rail. 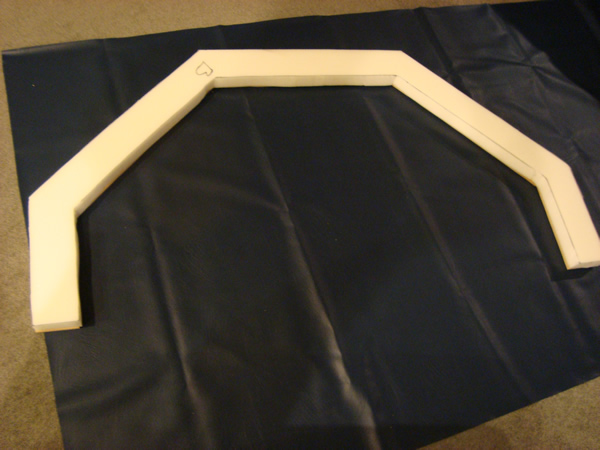
Here is the padded rail sitting on top of the material which I will use to cover the padded rail with. 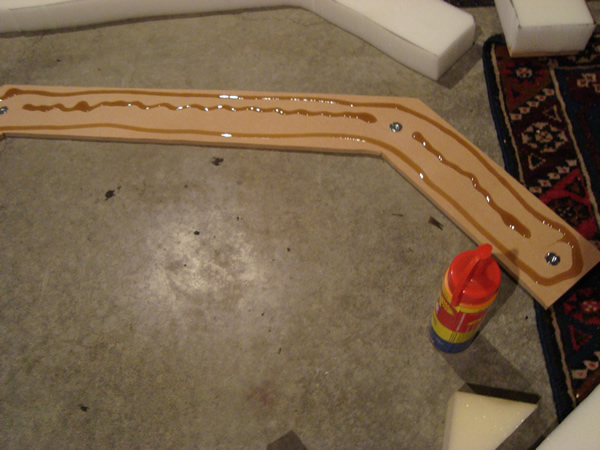
I was fairly generous with the glue when sticking the foam to the padded rail. 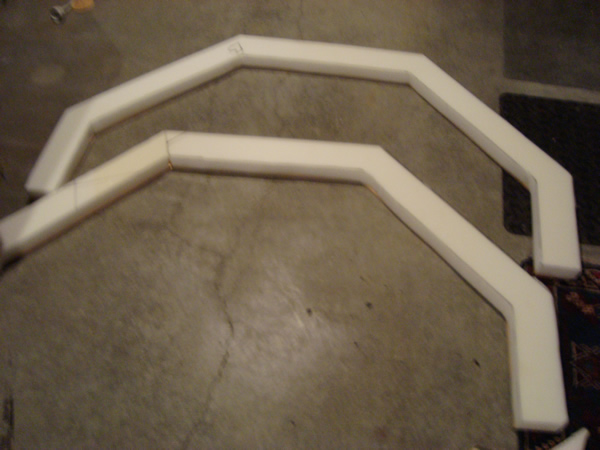
2 pieces of foam stuck down onto the MDF padded rail ready for covering! You can also see in the second piece the join I had to use as my foam wasn't big enough to cut 2 complete pieces from. Just a note at this point, I also cut out a thin strip of foam to sit inside the rail with was also covered by the padding. The foam strip was about 20mm thick and added to the inside only. Okay as I am want to do, I decided to crack on and try and cover the rail myself while my wife was recovering from some afternoon drinks � big mistake! I thought all I need do (after reading how to pad normal oval rails) that I staple on the outside first and then pull the inside tight and staple on the inside �WRONG! With the shape of the table being an octagon, the rail cannot be covered by simply buying a piece of material and stapling it to the rail. If you try this, like me you will find out that on the inside of the rail, it is impossible to cover all areas of the foam and rail and you will be left with sizable holes where you can see the foam. Enter an amazing wife with a sewing machine, some peace and quiet and the solution wasn't too long in coming. Basically she cut each piece individually and stitched them all together. 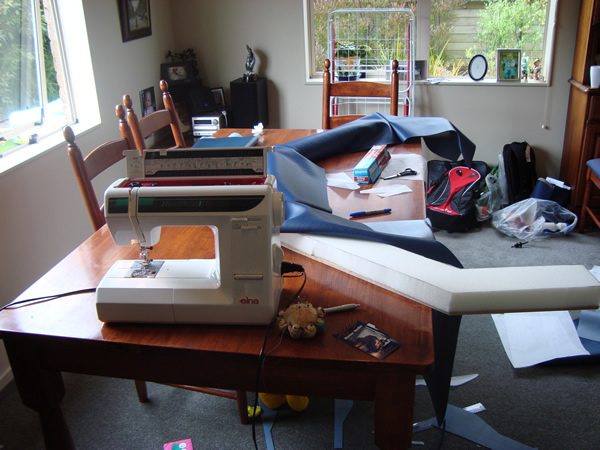
I do not pretend to understand what was done here but if you e-mail me any questions I'll find out from the boss what she did. From what I saw, she used baking paper and made a template for each piece of material she would cut and sew together. Once the material was magically brought to me stitched and the correct shape, it was a fairly simple job (again with the help of my wonderful wife) to get the corners stapled to the rail and then staple the rest of the fabric on from there. 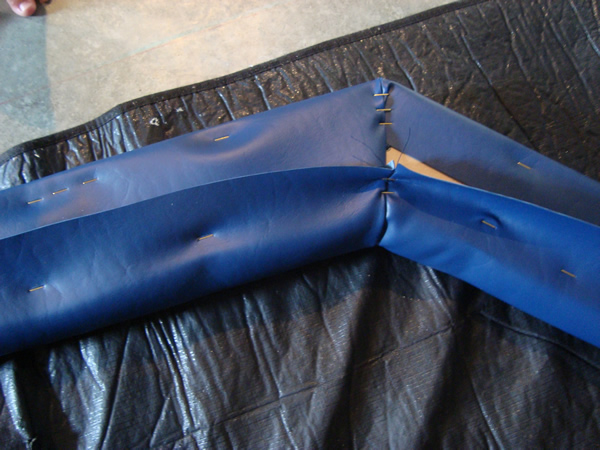
We stapled the corners on first and then pulled the rest of the material tight and stapled. 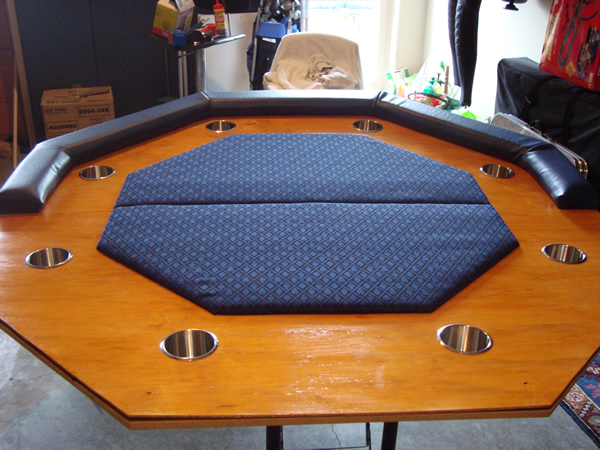
Here is one part of the padded rail done and attached. I think it looks amazing and was way better than I had hoped for. 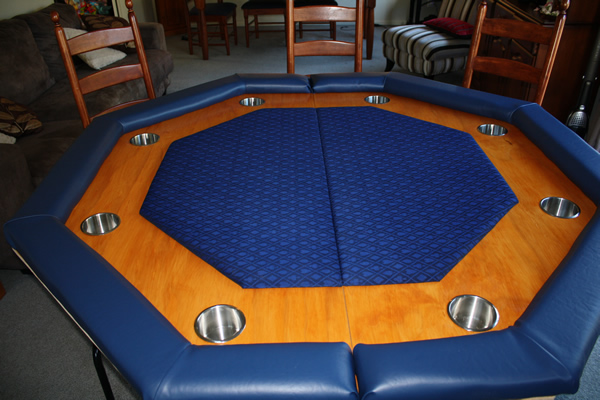
|